Quick Video Teaches You Lightroom Basics
Watch and learn how to create stunning “before and after” photographs in Lightroom
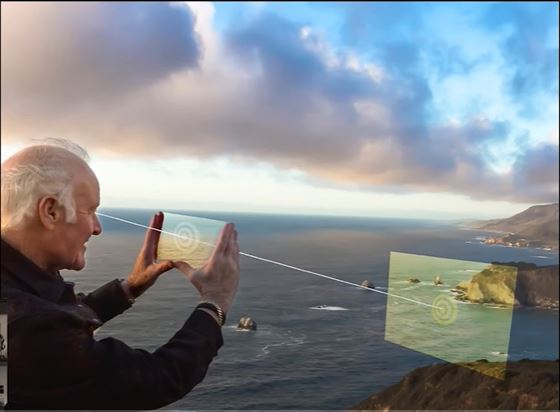
In Advancing Your Photography Show’s latest video, host Marc Silber walks us through a quick lesson in Lightroom basics. The easy-to-follow tutorial will leave you feeling confident, comfortable and ready to edit your own photographs. Marc starts by sharing his work flow with us. It’s simple: work from the top to bottom on the “Develop” panel. You begin editing by adjusting the white balance with the eye dropper tool if necessary. Then head down the panel, checking your exposure, contrast, clarity etc. Marc says the important thing to remember is this the “development stage” of your photograph. You will, and should, adjust and re-adjust the different sliders on the panel until you are satisfied with your image. The process can take awhile, but the more you experiment with the Lightroom Develop Panel, the more comfortable you will get. Once you’re satisfied with the image, Marc recommends exporting the file as a .jpeg and looking at the image outside of Lightroom. Marc also suggests printing the image out so you can fully examine how the picture will look in prints. Feel free to watch the video and follow along with your own image in Lightroom. Good luck!
What Video Covers

Lightroom Basics: Develop Panel
- White Balance
- Contrast
- Highlights
- Shadows
- Clarity
- Clipping
- Presence
- Leveling
- Texture
- Saturation
- Vibrance
The Big Reveal: If you’ve been following along with the video while editing your own image in Lightroom, now’s the time for the big reveal. Hit the forward slash key (/) on your Mac to see the dramatic before and after!

Lightroom Basics _Photo Credit: Marc Silber


Leave A Comment
You must be logged in to post a comment.